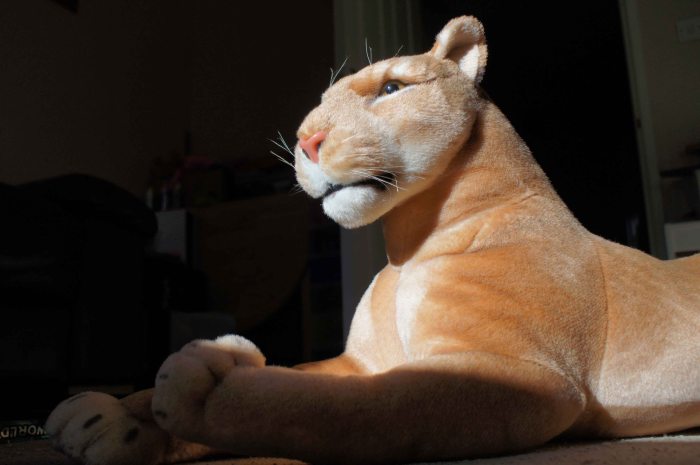
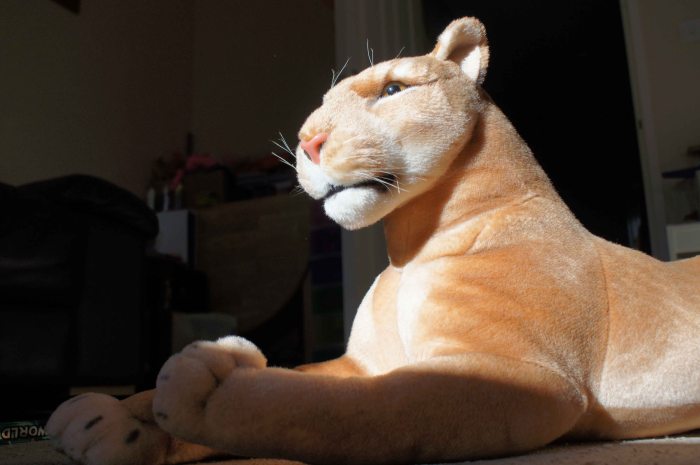
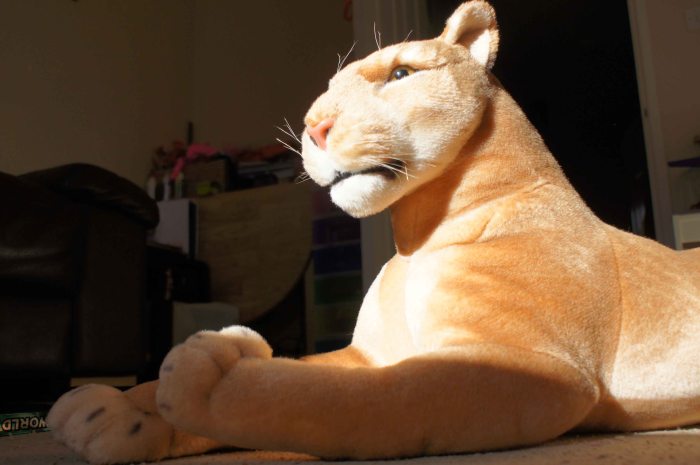
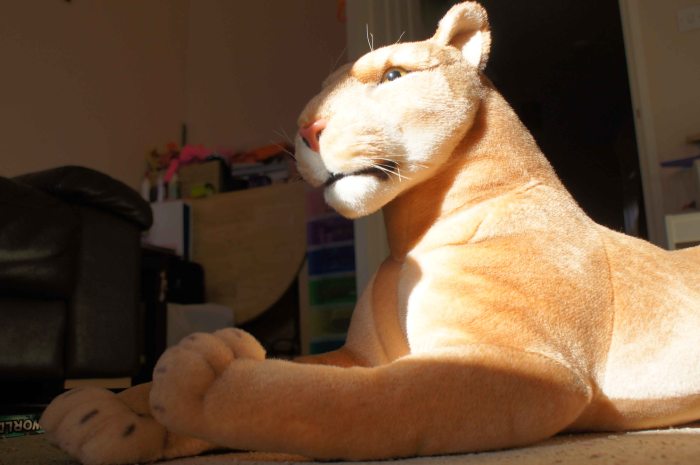
This exercise is to take up to five exposures of a subject one of them being measured as the best exposure for that shot then there should be an image that is one stop darker, half a stop darker, measured exposure, half a stop lighter and then one stop lighter. Once this is done to look at the images and decide whether the measured image is as you would expect it to be, what it is you wanted and then which if any of the other exposures are acceptable.
I thought that because of my last lot of assignments and exercises that I have done for this topic of light I will try and make sure that each exercise/ assignment has a topic to stick too.
So with this in mind for this first exercise I choose to use objects that are on display in homes, at least they are on display in my house.
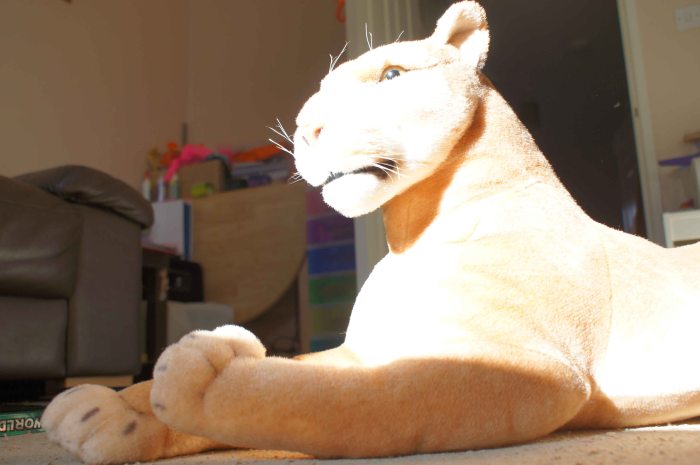
So after viewing the images for the stuffed toy lion I could see that the measured image is exactly as I expected it to be, the background showing some detail with the lion in perfect lighting. There are other images that I feel are usable but there is only the 1 image that I feel is the image that I wanted and would use and that is the image is the one that is 1 stop darker, I like that image because you cannot see the background very well the lion has a nice colour to it I also feel that if there was an orange hint top the light the background darkened down some more it could look like a sunset image on the lion. Because I was thinking about the image while writing the comments above I had to just go and do the image to how I wanted it to appear.
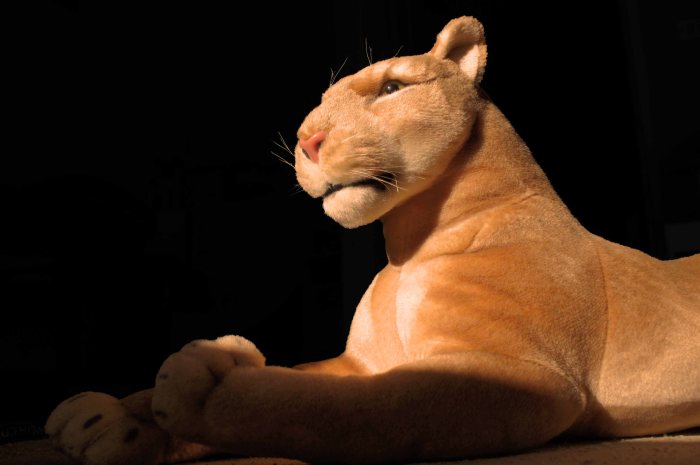
So after taking the one stop darker image I put it into Photoshop and then placed an orange filter over the image so as to give a more sunset look to the light and then took the brightness out of the background and increased the contrast to darken out the background.
Right now to carry on with the exercise.
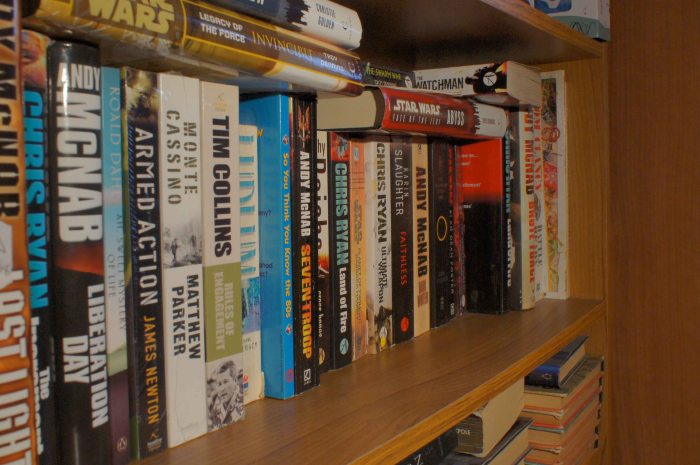
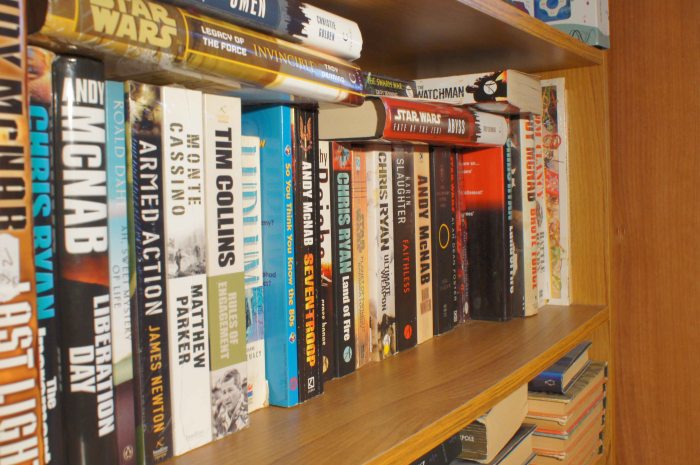
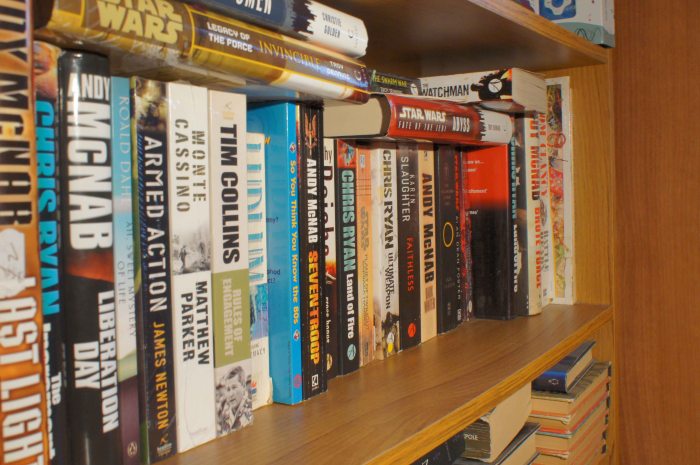
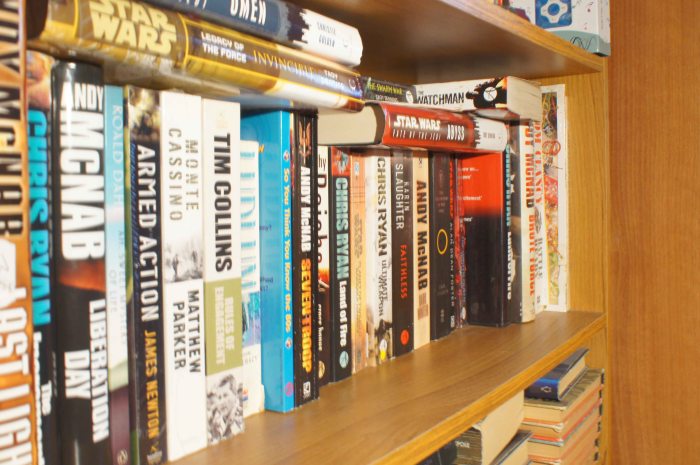
So for my second set of images of things from around the home I came across one of the bookshelves around the house and this is what I came up with.
So with this set the measured shot is what I was hoping for the colours are right the light is right so exactly what you should expect from a measured shot. The only other shot that I would think about using is the half a stop darker image as this is very close to how I wanted the image to appear. I found that the lighter images are a little too light for there is a bit of light reflection on one of the books and it just ruins it as it burns out the colour the lighter the image goes.
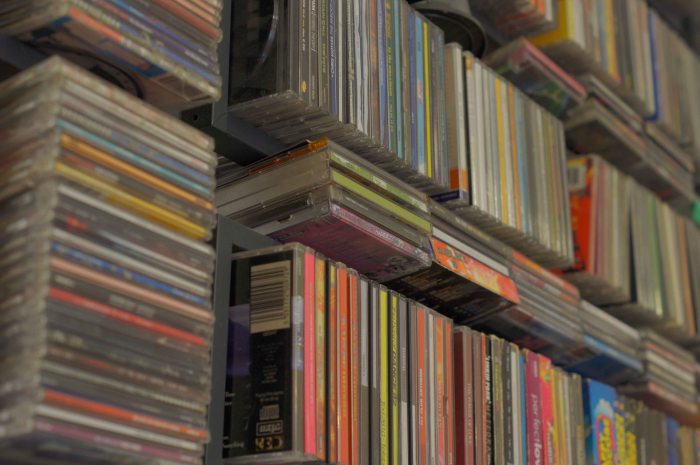
I am now going to do some shots of cd storage that I have containing a few of my hundreds of cd’s that I have. I am kind of doing the same thing with the cd’s as I have done with the books but the light is different in the area I keep a lot of my cd’s so the look should be a little different.
One stop darker
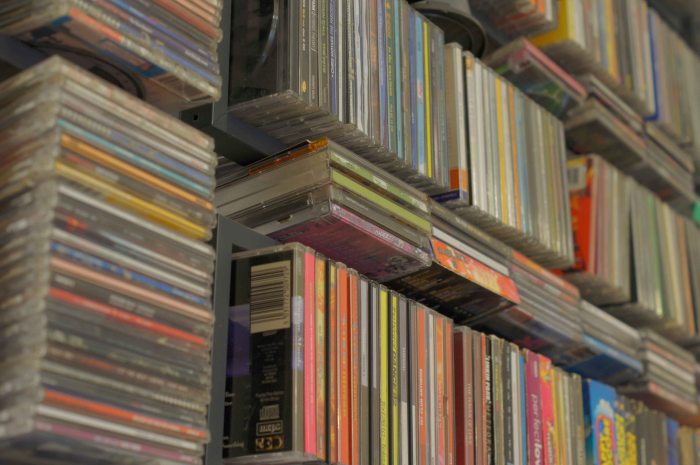
Half a stop darker.
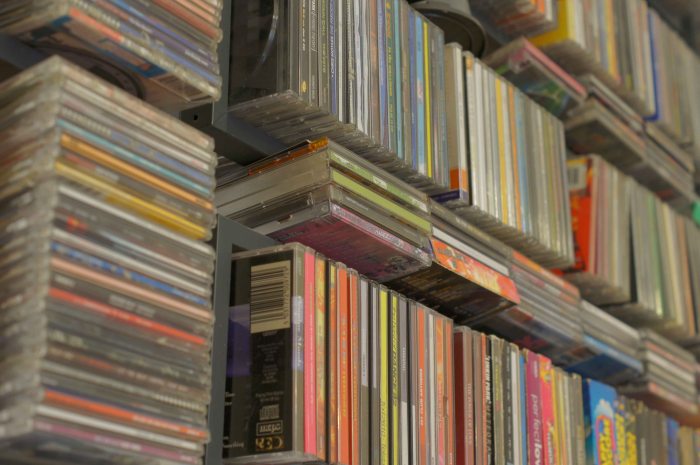
Measured shot.
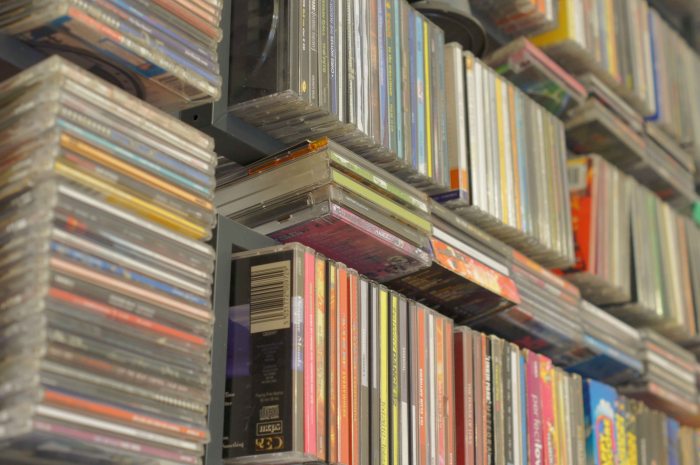
Half a stop lighter.
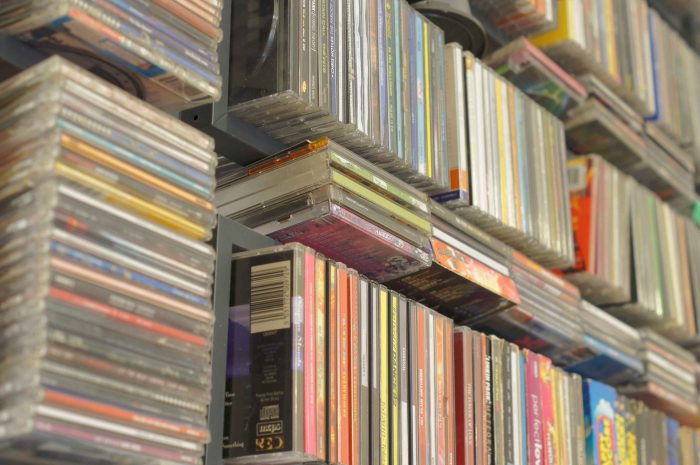
One stop lighter image.
When going through the images of the cd’s I can see the measured shot is as it should be and is a nice enough shot but it is the half stop lighter image that I prefer. I find that the one stop lighter image is to light but with the half stop lighter image I find that the colour is very clear and bright adding that little bit more to it than what the measured image has.
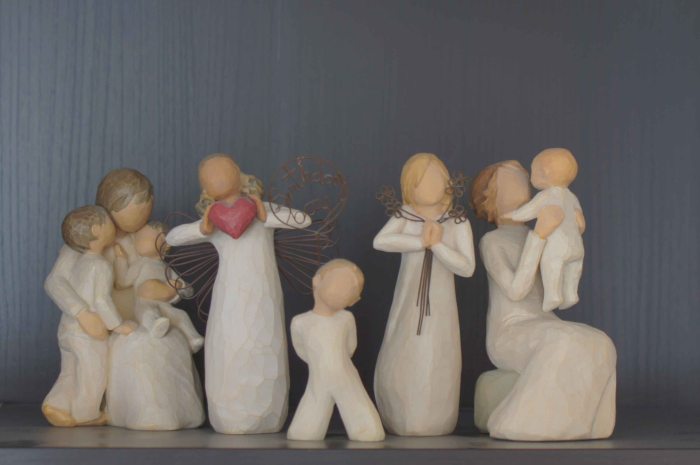
Now that I have done a toy, books and compact discs I have now got to think what else I can take some images of so let’s go for some willow tree ornaments but which ones to choose?
Well let us see what ornaments that I have chosen for my next series of images.
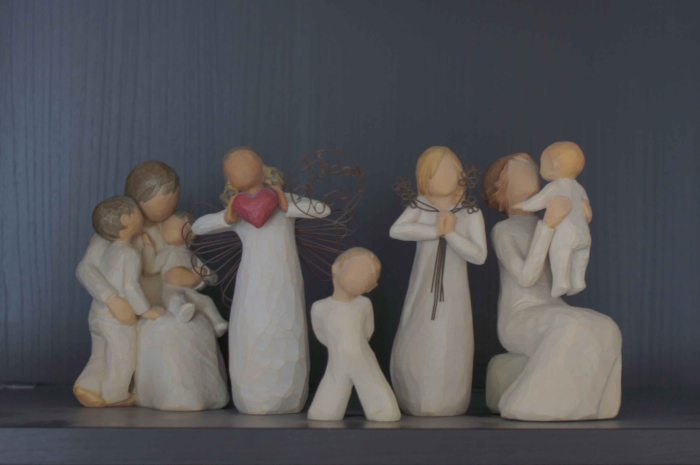
One stop darker.
half a stop darker.
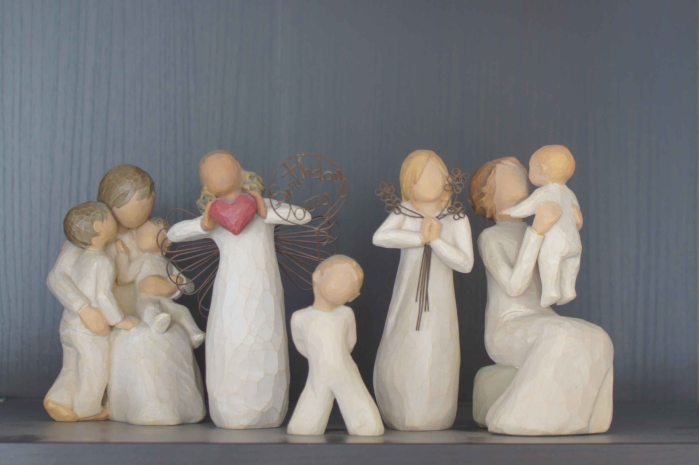
Measured shot.
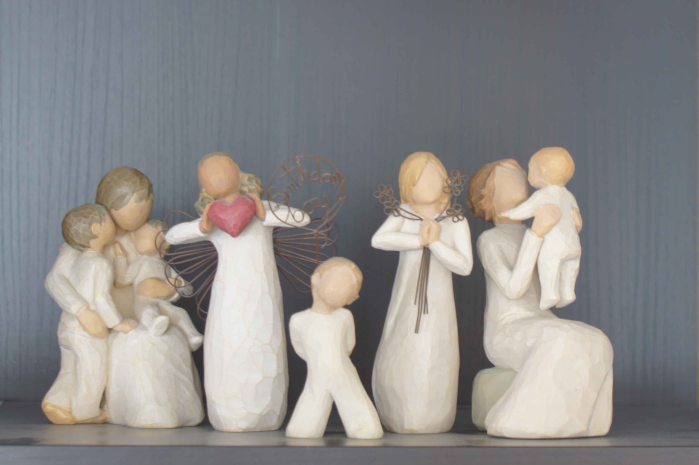
Half a stop lighter.
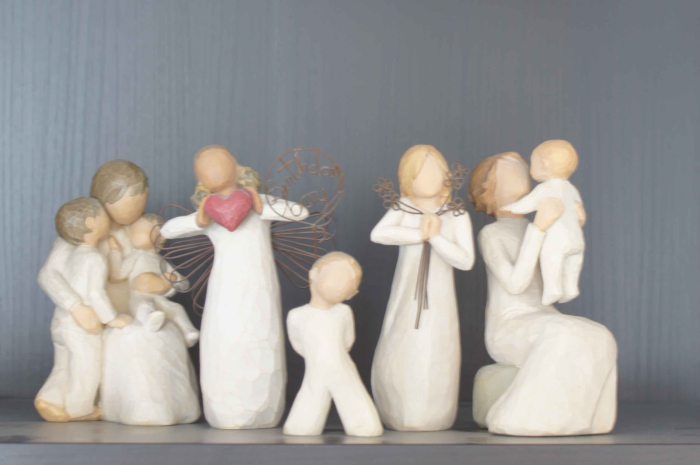
One stop lighter image.
With this set of images I found that the measured shot is a nice shot as it is technically spot on for what I was after. What I was surprised about is that I there were other images that I found worked just as well such as the half stop darker and also the half stop lighter shot also worked. So out of the three images that I liked I found that if that if you needed the shot then you could use any of the three images.
Now for the final series of images trophies.
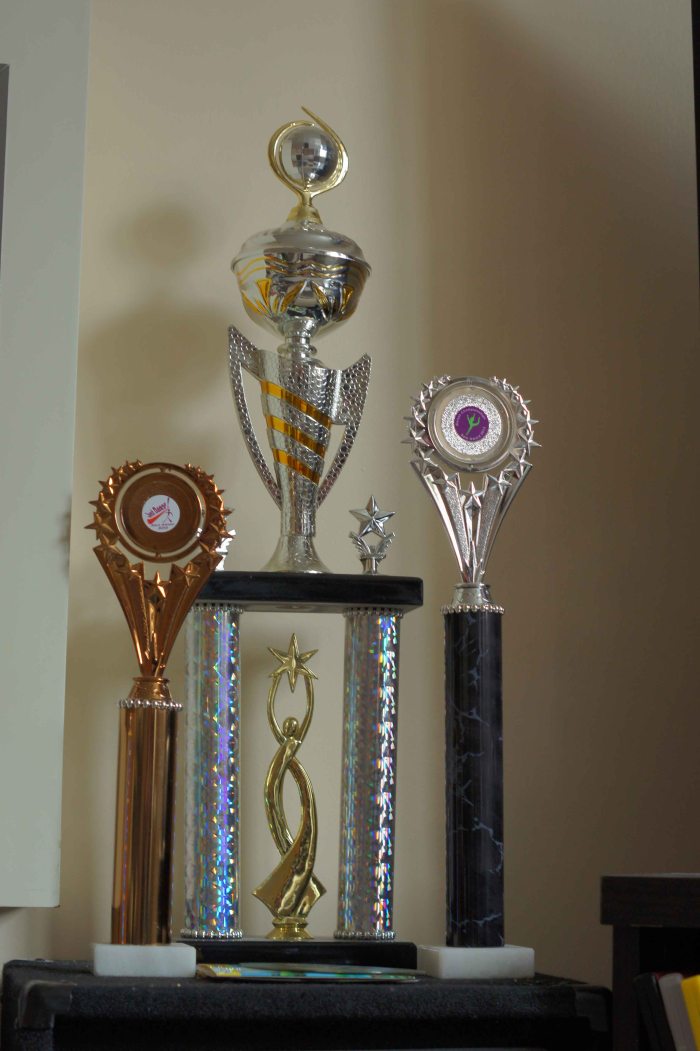
One stop darker image
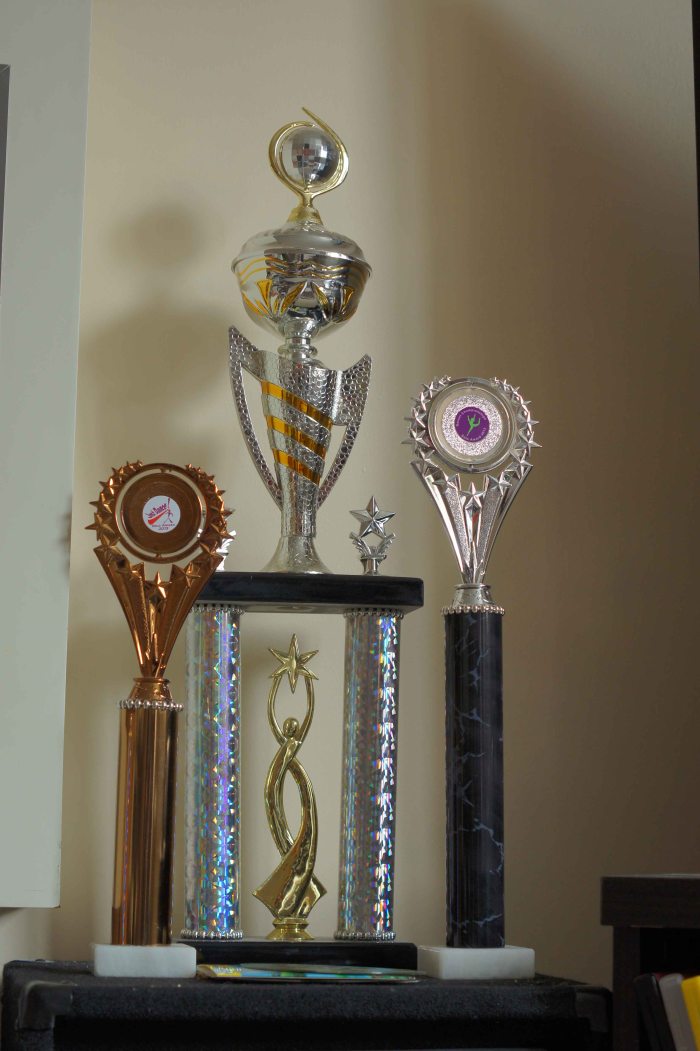
Half a stop darker image.
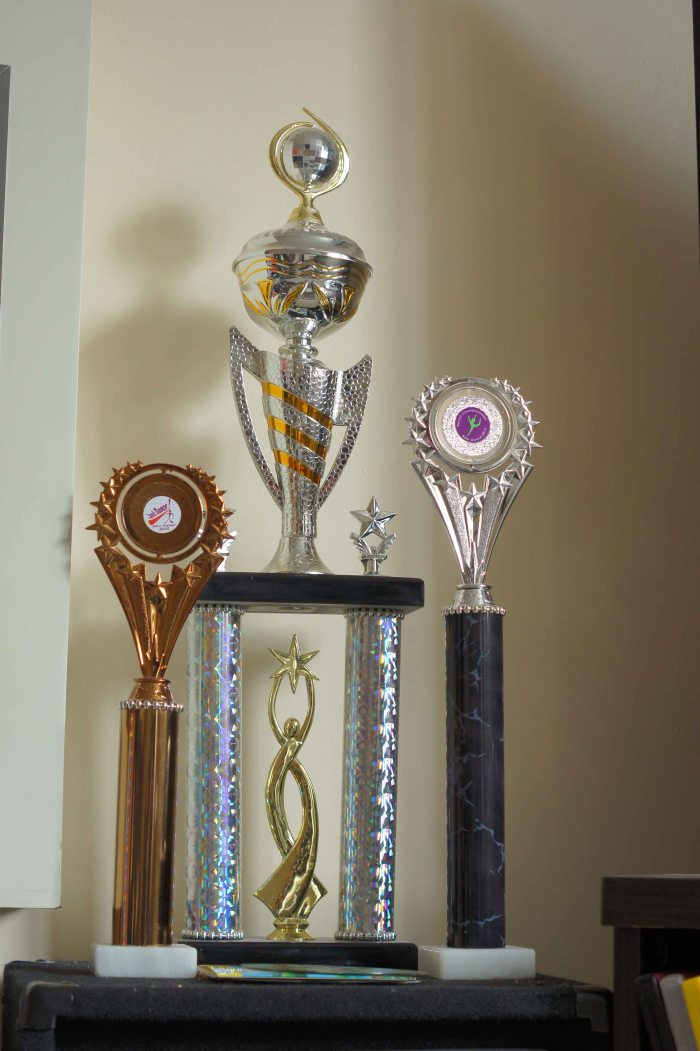
Measured shot image.
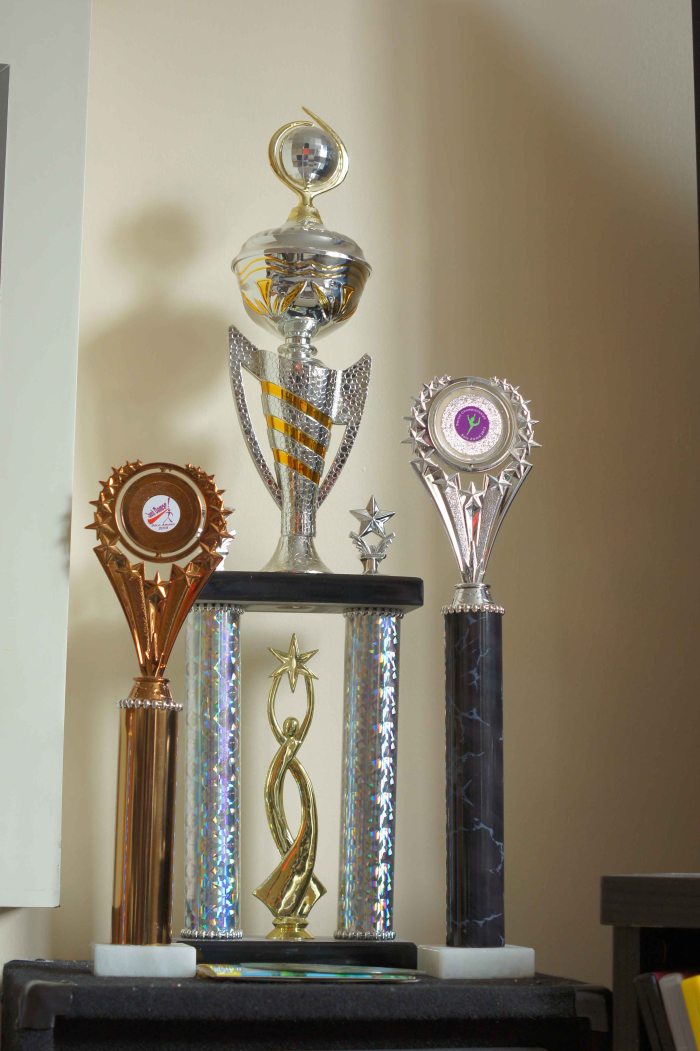
Half a stop lighter image.
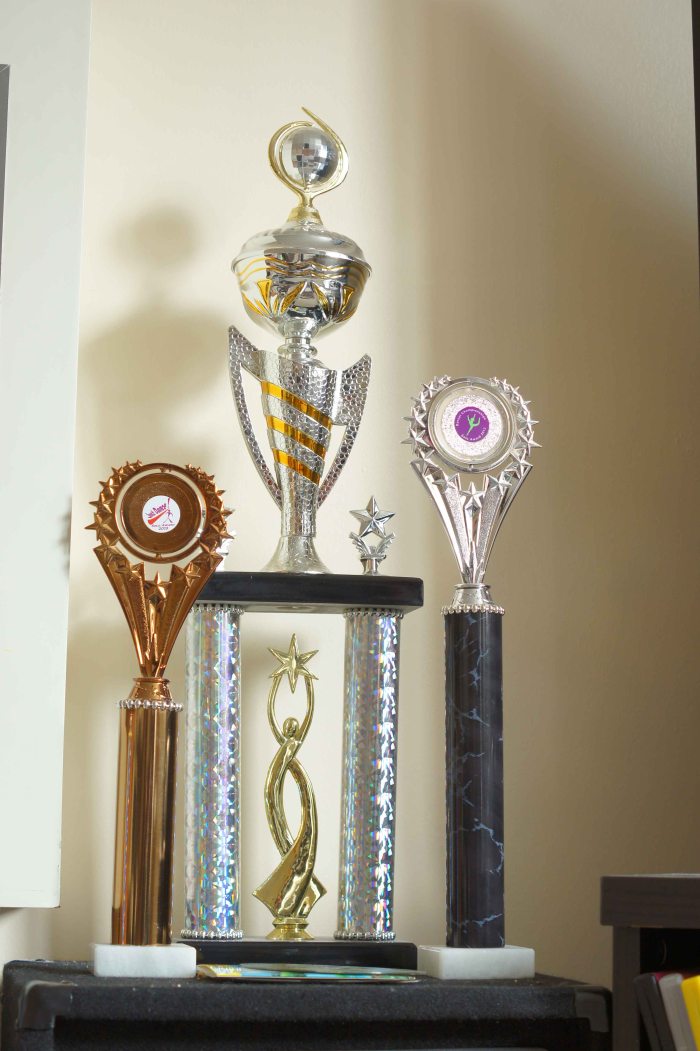
One stop lighter image.
With this final set of images I found that due to the light the measured shot was as it should be but I did not like it. After going through all of the images I find that it is the 1 stop lighter image that I do prefer out of the set as it has a nice amount of light to reflecting off the trophies making them look a lot more sparkling than the measured shot.
So after looking at all of the sets I can see that the measured image are not always the best image for what I could be looking for which means that sometimes it may be advisable to bracket the images so as to get the image required.
